Installation Guide
Installation guide for the User Activity client side.
If you experience any problems during the installation, please contact us at Core.PerConIK@gratex.com.
The User Activity client side consists of the following components:
- User Activity Central Application (UACA)
- Integrated Development Environment plug-ins
- Web browser plug-ins
Each component is installed separately.
User Activity Central Application (UACA)
Central client application for collection and management of user activities.
UACA for Ubuntu
Application is installed trough apt. It is installed into /opt/gti/perconik/uaca directory and registered in ~/.config/autostart (perconik-uaca.desktop) to be automatically started after system startup.
Installation process
- Add PerConIK repository into your apt sources.list if it is not already there.
- Create sources.list backup
sudo cp /etc/apt/sources.list /etc/apt/sources.list.bak - Add the repository line
sudo add-apt-repository 'deb http://perconik.fiit.stuba.sk/Public/apt-repo/ /'
- Create sources.list backup
- Update package index files
sudo apt-get update -o Acquire::http::proxy=none
(-o Acquire::http::proxy=none is used to bypass proxy. Ignore "Some index files failed to download. They have been ignored, or old ones used instead." messages for other repositories.) - Install UACA
sudo apt-get install perconik-uaca -o Acquire::http::proxy=none
- Perform initial UACA configurations (UACA will run at OS startup) and run UACA
/opt/gti/perconik/uaca/run.sh -init
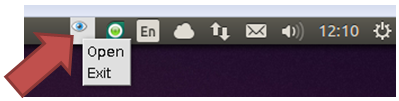
(-init forces the initial configurations to run) - Check whether UACA is running
Update process
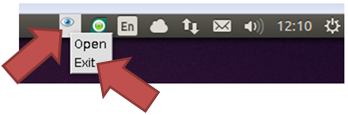
- Exit UACA if it is running
- Update package index files
sudo apt-get update -o Acquire::http::proxy=none
(-o Acquire::http::proxy=none is used to bypass proxy. Ignore "Some index files failed to download. They have been ignored, or old ones used instead." messages for other repositories.) - Install UACA
sudo apt-get install perconik-uaca -o Acquire::http::proxy=none
- Perform initial UACA configurations (UACA will run at OS startup) and run UACA
/opt/gti/perconik/uaca/run.sh -init
(-init forces the initial configurations to run) - Check whether UACA is running
UACA for Windows
Application is installed using an self-extracting package. After installation, UACA will start at every system startup automatically.
Installation process
- Download the self-extracting package from: http://perconik.fiit.stuba.sk/Public/files/perconik-uaca-win_2_0_11.exe
- Run the downloaded self-extracting package
- Follow the installation instructions
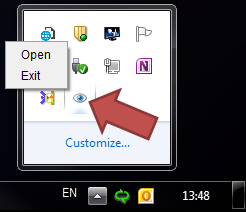
- Check whether UACA is running
Update process
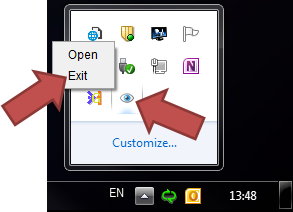
- Exit UACA if it is running !!!
- Download the self-extracting package from: http://perconik.fiit.stuba.sk/Public/files/perconik-uaca-win_2_0_11.exe
- Run the downloaded self-extracting package
- Follow the installation instructions
- Check whether UACA is running
Integrated Development Environment plug-ins
Plug-ins used to monitor activities in a IDE.
Eclipse
Installation process
- Add PerConIK software site
Help → Install New Software... → Add
Location: http://perconik.github.io/update/repository - Select all components and continue through installation process. Ignore unsigned content warning.
Visual Studio 2012
The plug-in for Visual Studio consists of a single add-in and a single editor extension.
Installation process
- Download the self-extracting package from: http://perconik.fiit.stuba.sk/Public/files/perconik-visualstudio.exe
- Run the downloaded self-extracting package
- Follow the installation instructions
- The plug-in will be enabled next time Visual Studio is run
- You can check for the add-in in Tools → Add-in Manager...; for the extension check Tools → Extensions and Updates... → Installed
Update process
- Exit all instances of Visual Studio
- Follow the installation instructions above
Web Browser Plug-ins
Web browser plug-ins are used to monitor activities in web browsers.
Chrome
Installation process
- Uninstall the extension if you have already installed it directly trough crx file
- Install extension from https://chrome.google.com/webstore/detail/perconik-useractivity/kecjfcdaomhoekcfeffdmpnjmjodfade
Mozilla Firefox
Installation process
- Download the XPI file from: http://perconik.fiit.stuba.sk/Public/files/perconik-ua.xpi
- Drag`n`drop the downloaded XPI file to Firefox
- The Software Installation dialog opens. Press Install Now to install the plug-in.
- A message pops up prompting to restart Firefox. Press Restart Now.
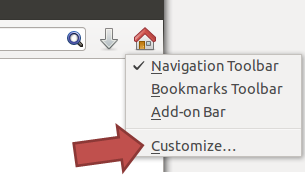
-
Right click on the navigation toolbar in Firefox and select Customize:
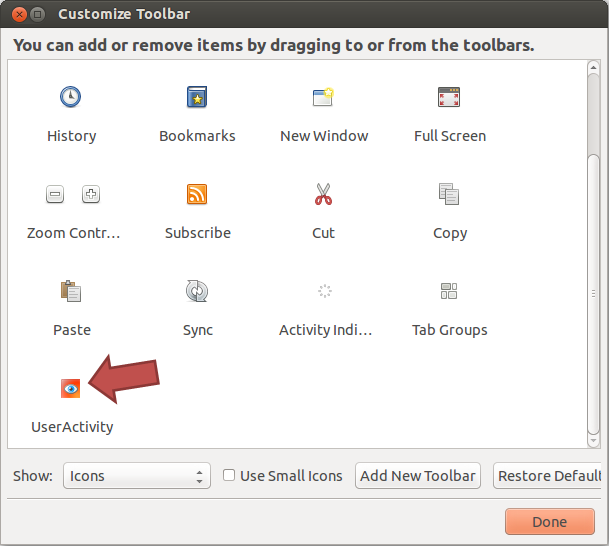
-
Select the 'UserActivity' button...
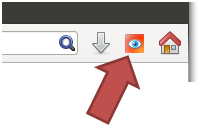
-
... and drag`n`drop it to the navigation toolbar
Internet Explorer
Coming soon..